Apache
WWW Server
Apache is an open source server for providing HTTP service. The word apache is the name of the Apaches, tribes of Native Americans (the indigenous population of America).
Hypertext Transfer Protocol (HTTP) is a protocol used for accessing information on the Internet that is stored on World Wide Web (WWW) servers. The HTTP protocol is a text-based protocol, being the "default" protocol of the WWW.
Installing Apache server on Ubuntu
All the commands below are executed by the user root or by a user with administrative rights (for example, using the sudo command). In case the root user is not activated, we will obtain its rights using the command:
sudo su -

The system used is GNU/Linux and the distribution is Ubuntu 22.04.3 LTS (Jammy Jellyfish) the stable LTS (Long Term Support) version.
To begin with, we will update the system to ensure that we are installing the latest version considered stable:
apt update && apt upgrade && apt full-upgrade

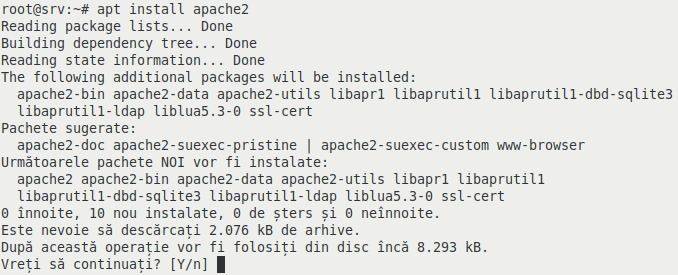
With the following command, we will install the Apache server:
apt install apache2
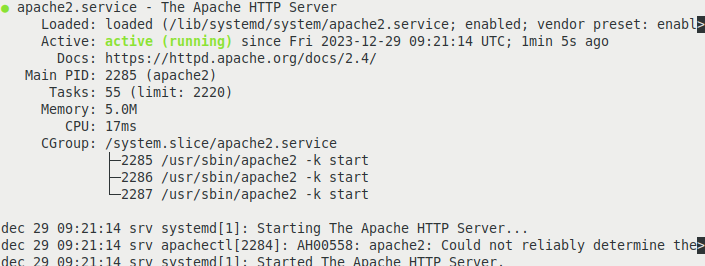
After installation, the service starts automatically. To verify, we run the command:
systemctl status apache2
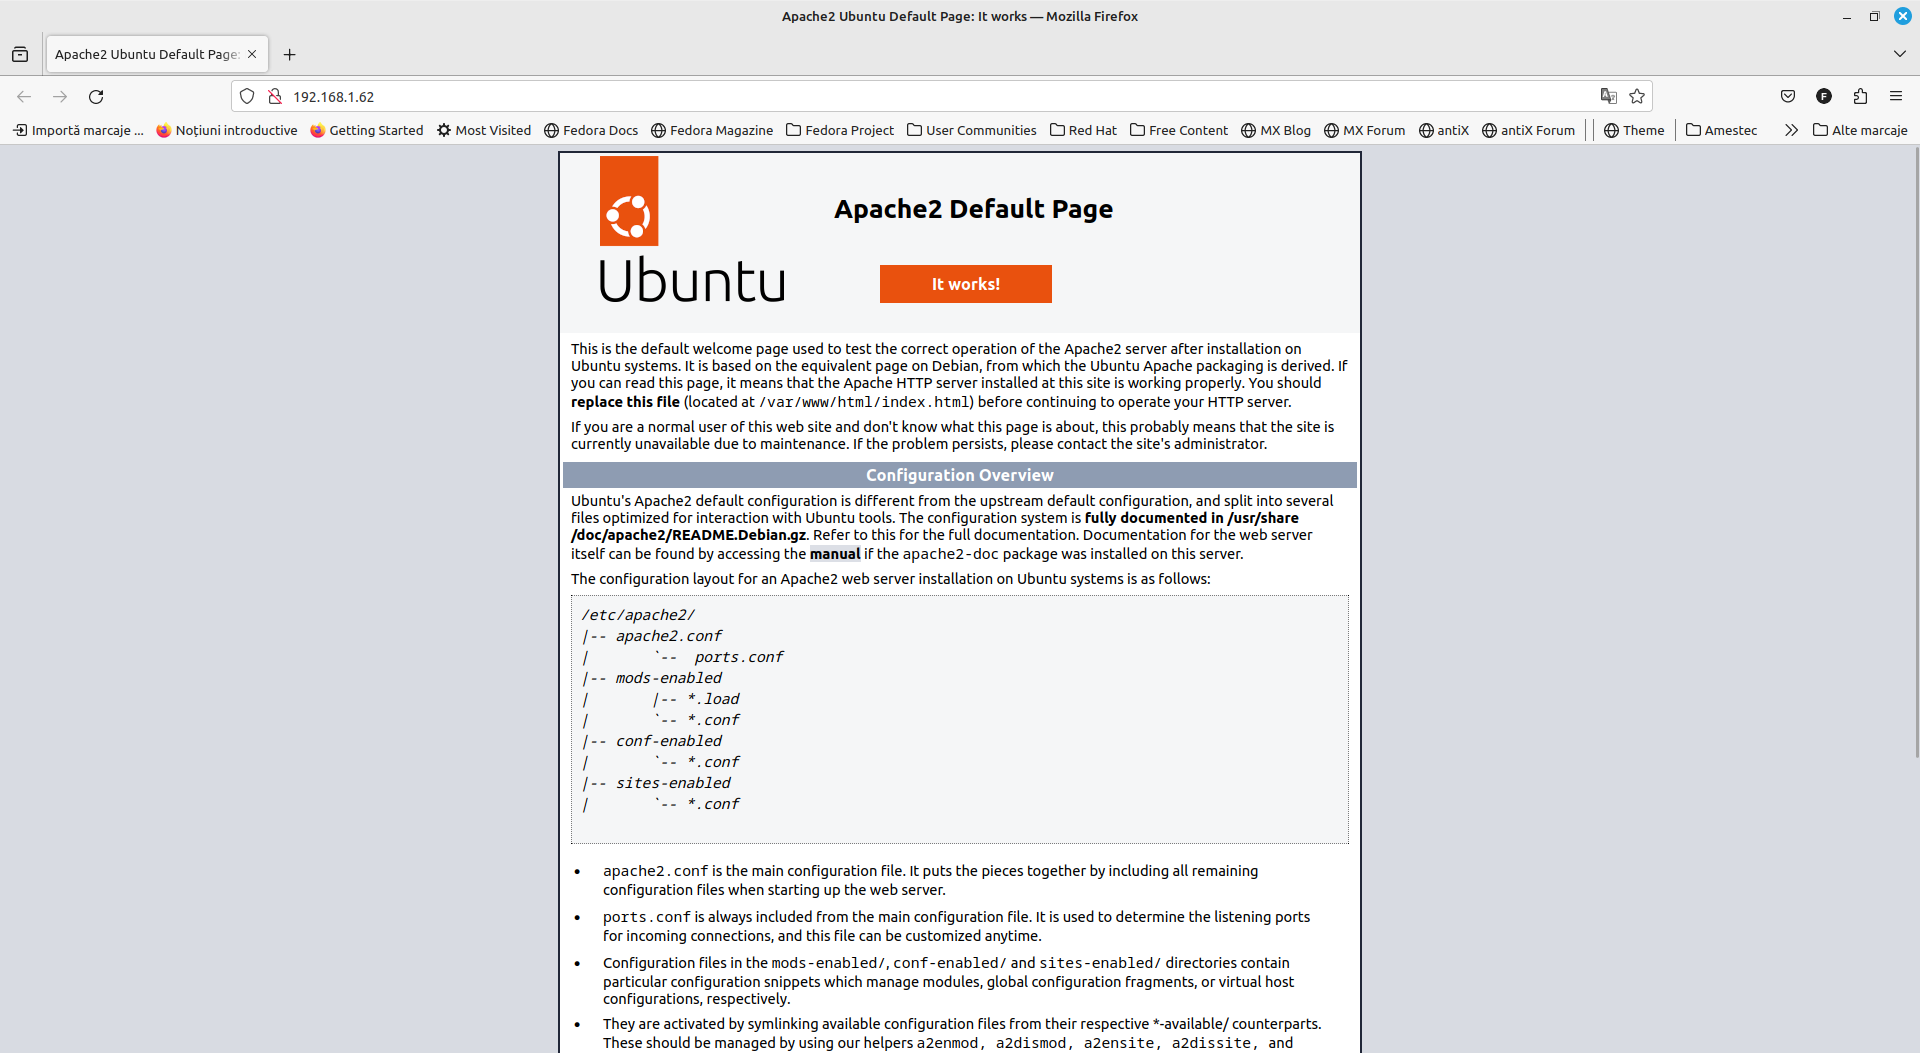
Once the service has started, we can connect using our preferred web browser to its address, in this case 192.168.1.62, which will load the index.html page from the root directory of the Apache server, located, in the case of the Ubuntu distribution, at the path /var/www/html/.
If the ufw firewall is active, we will allow external connections to connect to the apache2 service:
ufw app list
ufw allow "Apache Full"
ufw reload
ufw status
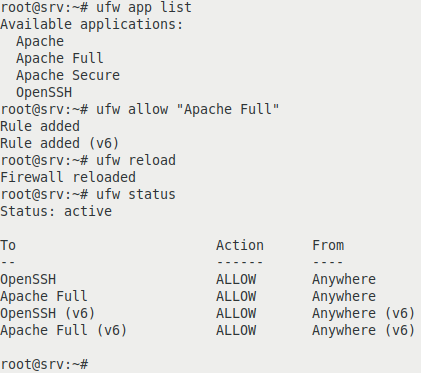
The ports for the Apache server are defined in the file /etc/ufw/applications.d/apache2-utils.ufw.profile.

We enable the service to start on boot:
systemctl enable apache2

Installing PHP
PHP (a recursive acronym for PHP: Hypertext Preprocessor) is a general-purpose scripting language with open-source code, widely used, and particularly suited for web application development, and can be embedded in HTML.
We will install version 8.1 of PHP from the ppa:ondrej/php repository.
We will first check if the necessary packages for adding new package repositories are installed:
apt install software-properties-common

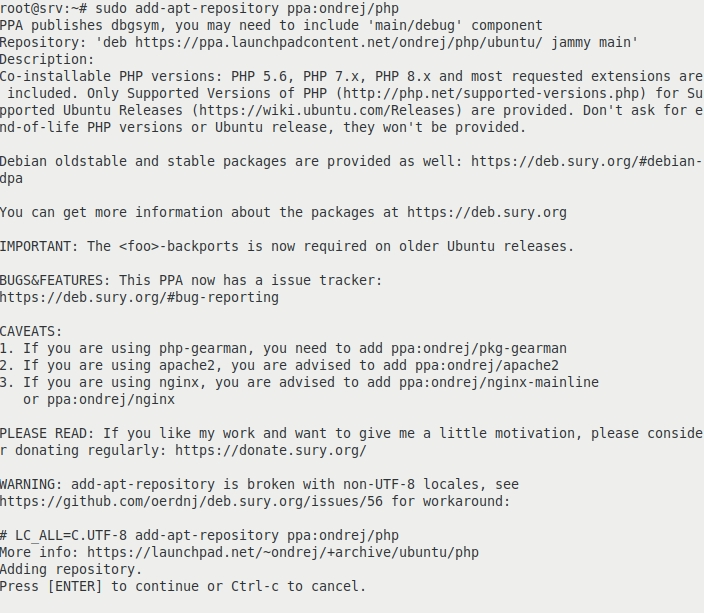
We install the necessary repository:
sudo add-apt-repository ppa:ondrej/php
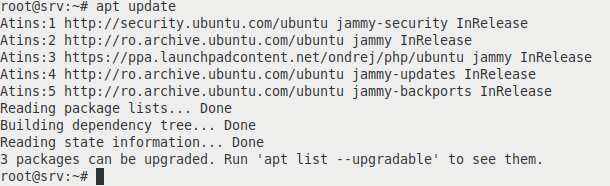
We perform an update of the package sources:
apt update
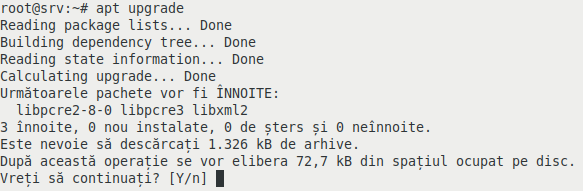
We upgrade the necessary packages, as we were previously informed that there are packages to be updated:
apt upgrade
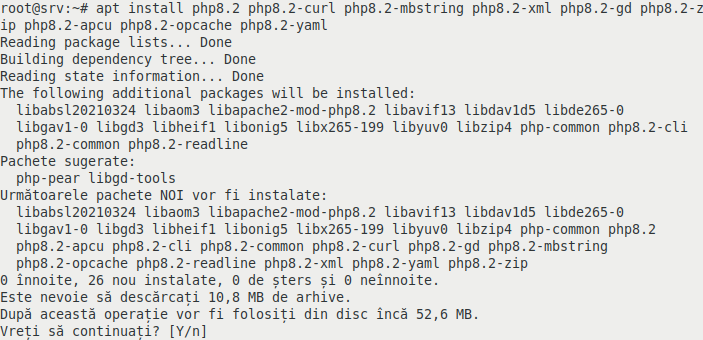
After which we install the PHP package version 8.2 with the necessary modules:
apt install php8.2 php8.2-curl php8.2-mbstring php8.2-xml php8.2-gd php8.2-zip php8.2-apcu php8.2-opcache php8.2-yaml
To verify the installation, we will create the file info.php in the root directory of the Apache server:
nano /var/www/html/info.php
in which we will write the following:
<?php

phpinfo();

?>
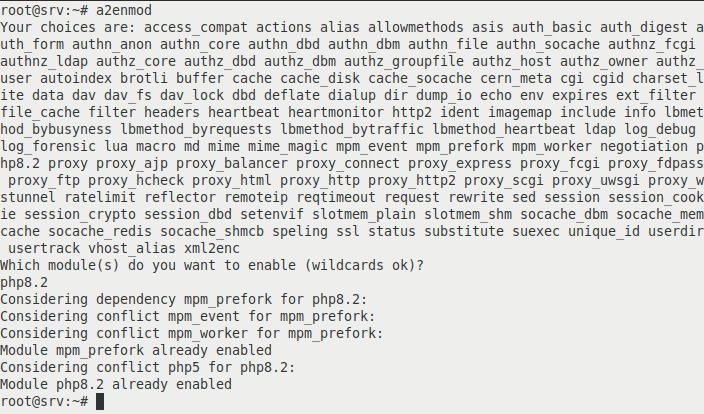
We enable the PHP module for Apache using the command:
a2enmod
at which point we see all the available installed modules:
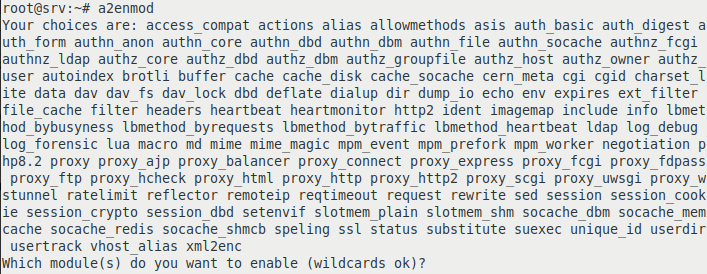
If the result is as below, everything is okay
After that, we connect to the Apache server using the previously created info.php page, and we will obtain the page with information regarding the PHP configuration:

Apache with PHP-FPM
PHP-FPM provides improved performance for busy websites.
To install PHP 8.2 on Ubuntu with PHP-FPM for Apache, we will run the installation command for the following packages:
apt install php8.2-fpm libapache2-mod-fcgid

To enable PHP-FPM, we will need to activate the following modules:
a2enmod proxy_fcgi setenvif
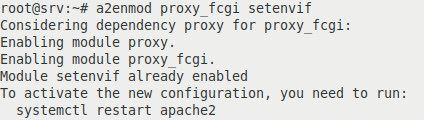
and enable the configuration file related to PHP-FPM:
a2enconf php8.2-fpm

After that, we will need to notify the Apache service to reload the configuration files:
systemctl reload apache2

Installing CMS Grav
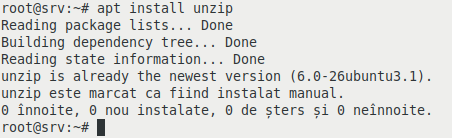
Grav is a Content Management System (CMS) - a content management system. This is a CMS that does not require a database for management, and page writing is done using the Markdown language. For installation, we need the Apache service and the PHP language to be functional and installed, as well as a utility for extracting zip archives, for which we will choose unzip.
apt install unzip
After downloading the Grav CMS along with the admin plugin from the page https://github.com/getgrav/grav/releases,
wget https://github.com/getgrav/grav/releases/download/1.7.43/grav-admin-v1.7.43.zip - the version used in writing this tutorial.
we will extract the archive into the root directory of the Apache server:
cd /var/www/
unzip /root/grav-admin-v1.7.43.zip

Next, according to the documentation , we determine under which user and group Apache runs in order to change the file permissions:
ps aux | grep -v root | grep apache | cut -d\ -f1 | sort | uniq
And with the returned result of the user in this case www-data, we find out the groups it belongs to:
groups www-data

We change the current directory path to the directory where the Grav CMS is located, previously unzipped:
cd /var/www/grav-admin

chgrp -R www-data .
find . -type f | xargs chmod 664
find ./bin -type f | xargs chmod 775
find . -type d | xargs chmod 775
find . -type d | xargs chmod +s
umask 0002

As we can see, a module of the Apache server is missing:
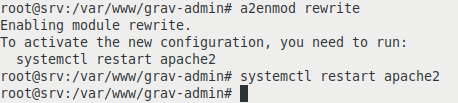
With the following command, we activate the module:
a2enmod rewrite
After which we will restart the service:
systemctl restart apache2
We disable the default site configuration of the Apache server:
a2dissite 000-default
And we create a new configuration file for the newly installed CMS in the root directory. Configuration files are located in the directory /etc/apache2/sites-available:
nano /etc/apache2/sites-available/grav-site.conf

In the file created with the preferred editor, in this case nano, we will add the following text, where the admin's email address and the server name will be replaced with the actual ones:
<VirtualHost *:80>
 ServerName nume.server.net
        ServerAlias www.nume.server.net
        ServerAdmin adresa.email@admin.com
 DocumentRoot /var/www/grav-admin

<Directory /var/www/grav-admin>
        Options -Indexes
        AllowOverride All
        Order allow,deny
        allow from all
</Directory>

        ErrorLog ${APACHE_LOG_DIR}/error.log
        CustomLog ${APACHE_LOG_DIR}/access.log combined
</VirtualHost>
We activate the new configuration, which will create a link to the file grav-site.conf in the directory /etc/apache2/sites-enabled:
a2ensite grav-site
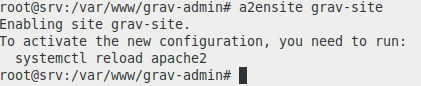
We will restart the server so that the new configurations take effect:
systemctl restart apache2

We check if we meet the conditions for using the CMS, but this time at the address http://192.168.1.62/admin because in the configuration file we modified the server's root directory and set the login credentials:
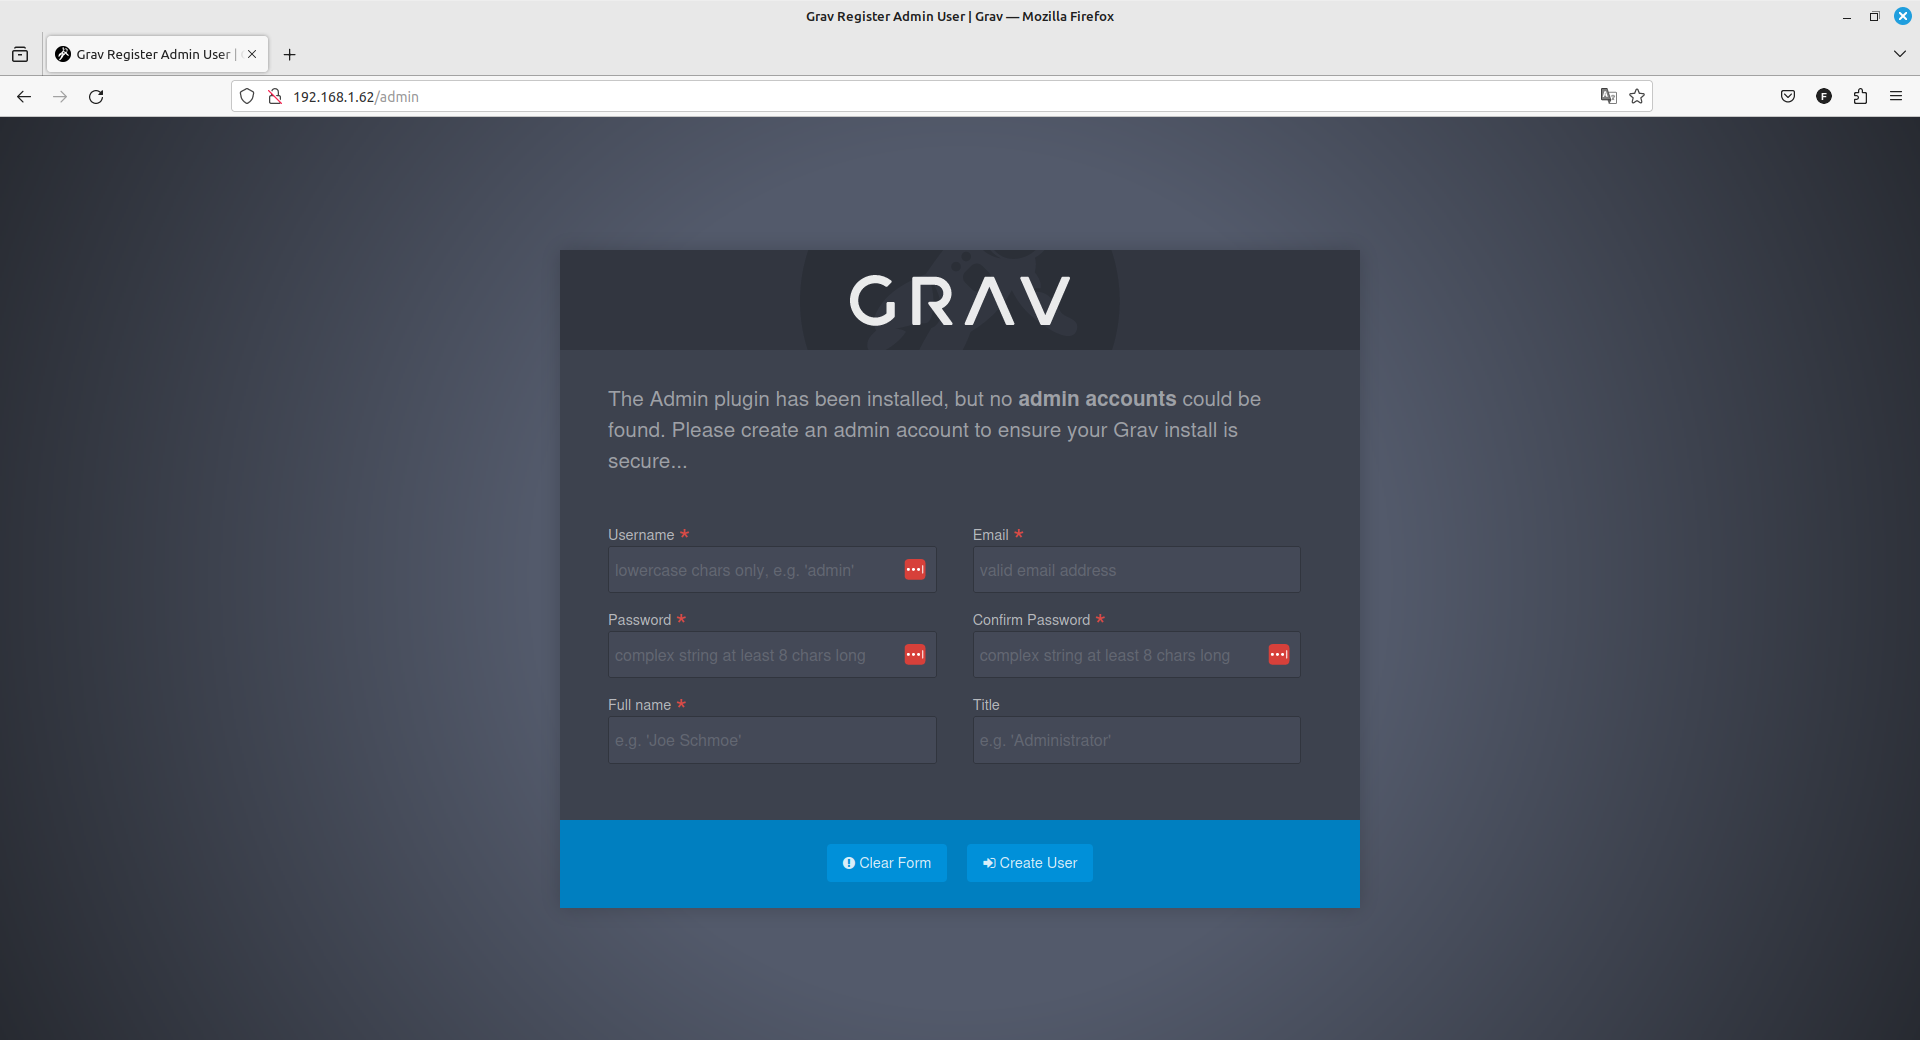
After registering the admin user, we will be able to access the CMS control panel, with which we can create the site's pages, install plugins, etc.:

Securing communication
Considering that the communication between the browser and the server is in clear text and in the future there is a desire to install services and a CMS that has at least one form of authentication with a username and password, it is necessary to secure the communication by using a means of encryption, in this case, the SSL protocol.
Setting the time zone
To set the time zone we will use the command:
timedatectl set-timezone Europe/Bucharest
and we check that the change has taken place with:
timedatectl

Generating the certification keys
The keys will be created using a password that will be removed in the second step; we won't need to remember it for long :).
cd /etc/ssl/private
openssl genrsa -aes128 -out server.key 2048

Removing the password
openssl rsa -in server.key -out server.key

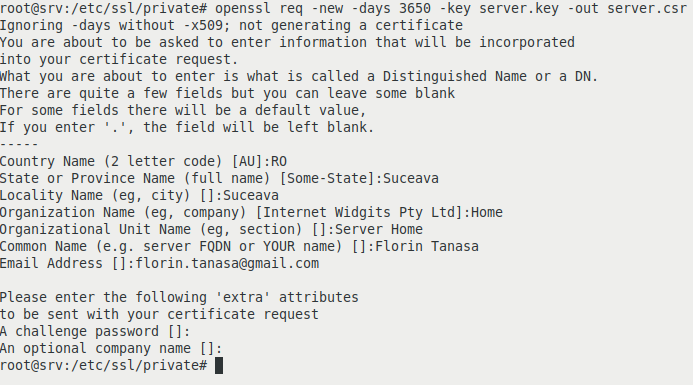
openssl req -new -days 3650 -key server.key -out server.csr
openssl x509 -in server.csr -out server.crt -req -signkey server.key -days 3650

Checking the creation of the keys:
ls

We will need the SSL module in Apache to be loaded; checking the loaded modules is done with the command:
apache2ctl -M
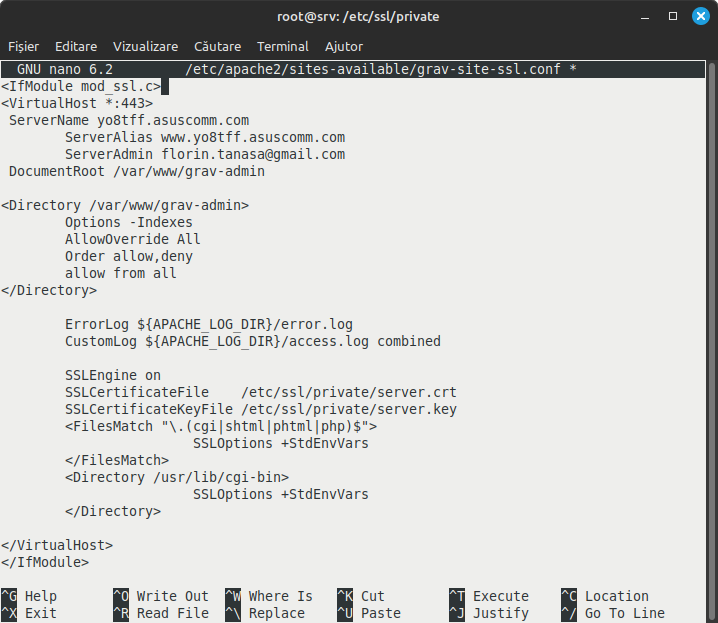
We will create a configuration file for the site that will load the security keys:
nano /etc/apache2/sites-available/grav-site-ssl.conf
<IfModule mod_ssl.c>
<VirtualHost *:443>
 ServerName nume.server.net
        ServerAlias www.nume.server.net
        ServerAdmin adresa.email@admin.com
 DocumentRoot /var/www/grav-admin

<Directory /var/www/grav-admin>
        Options -Indexes
        AllowOverride All
        Order allow,deny
        allow from all
</Directory>

        ErrorLog ${APACHE_LOG_DIR}/error.log
        CustomLog ${APACHE_LOG_DIR}/access.log combined

        SSLEngine on
        SSLCertificateFile    /etc/ssl/private/server.crt
        SSLCertificateKeyFile /etc/ssl/private/server.key
        <FilesMatch "\.(cgi|shtml|phtml|php)$">
                        SSLOptions +StdEnvVars
        </FilesMatch>
        <Directory /usr/lib/cgi-bin>
                        SSLOptions +StdEnvVars
        </Directory>

</VirtualHost>
</IfModule>
We activate the created configuration file:
a2ensite grav-site-ssl

We enable the SSL module:
a2enmod ssl
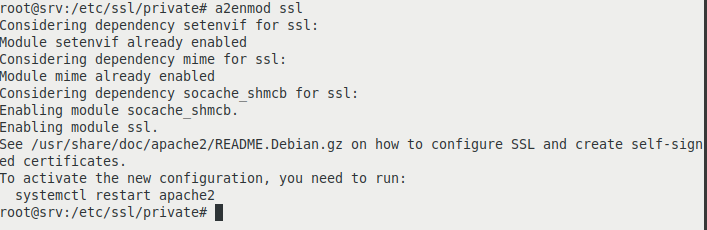
We restart the Apache service to load the new changes:
systemctl restart apache2

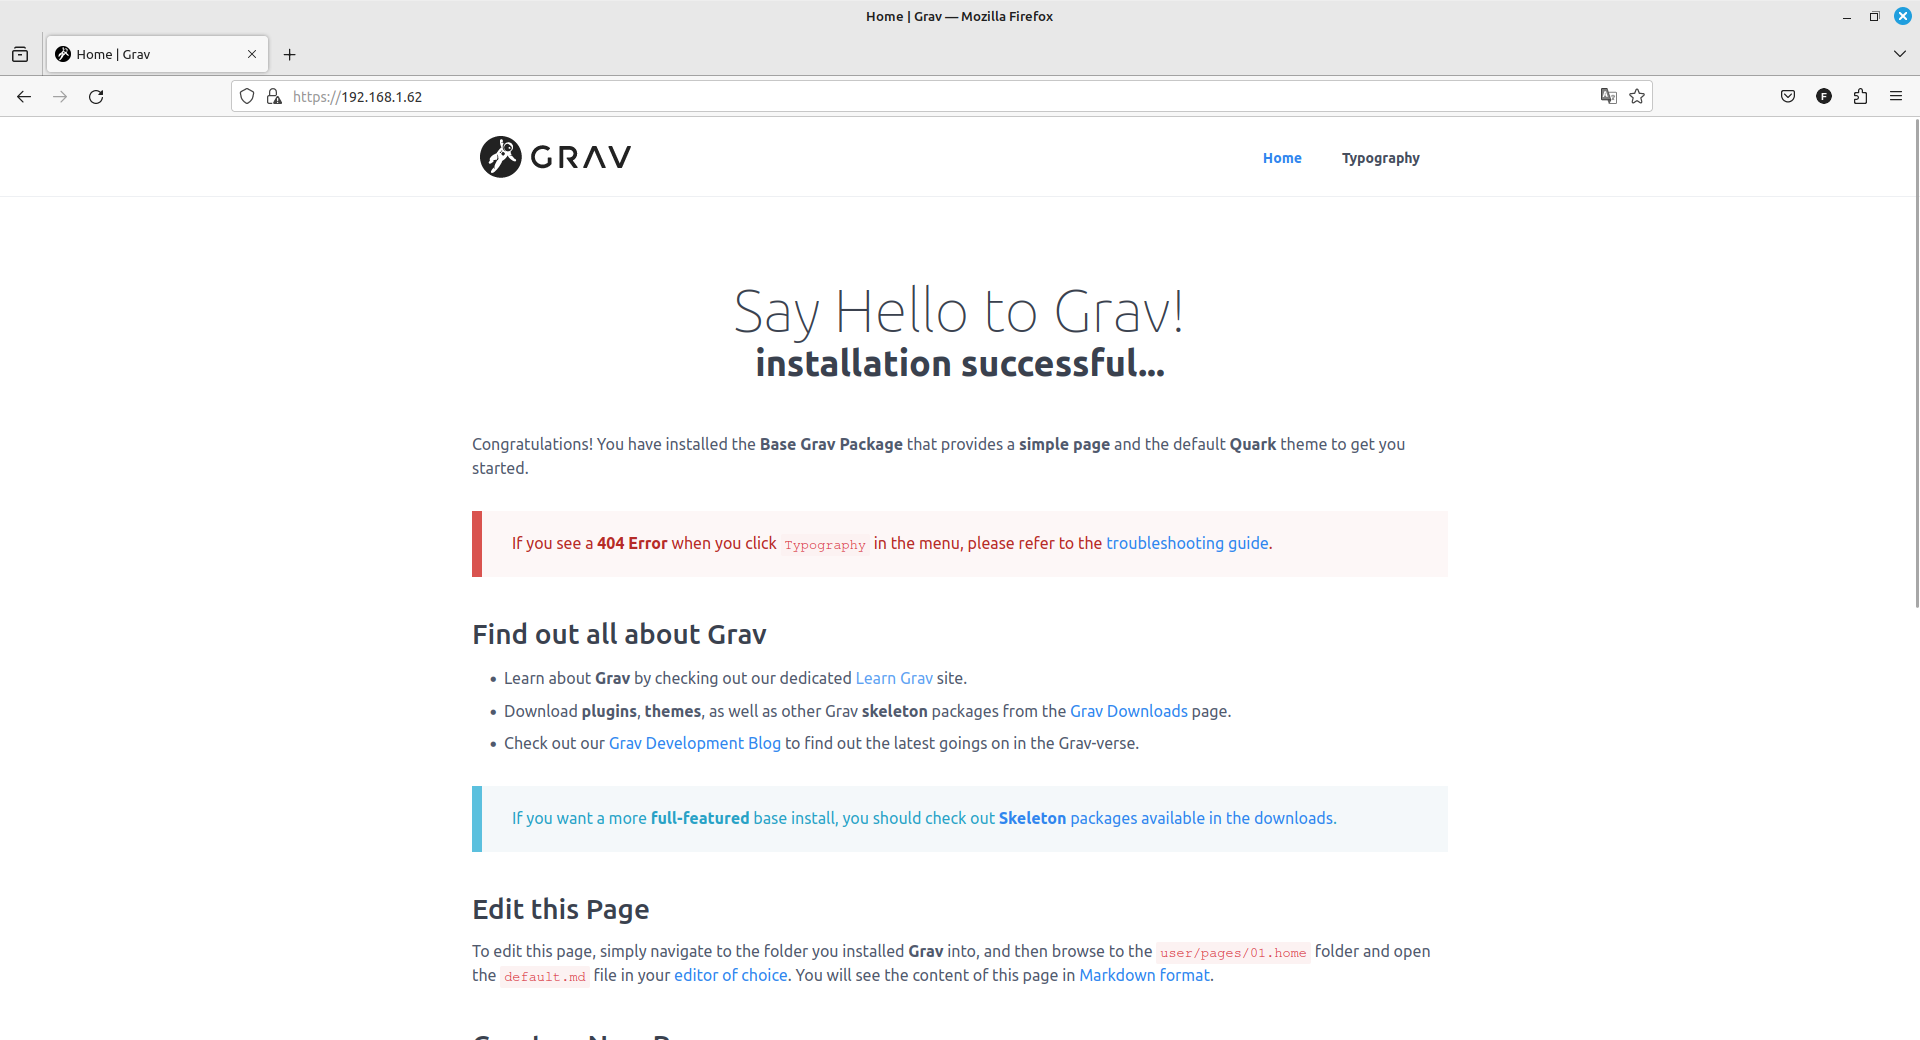
Using your preferred browser, we will load the page https://192.168.1.62, from which we will receive a warning that it is untrusted, as the key we created (is private) is not issued by a recognized authority (cannot be publicly verified):

We click the Advanced button to open new options:

We click the Accept the risk and continue button after which the page will load. The key will be downloaded in the browser and we will not be asked again in the future as long as we have the key:
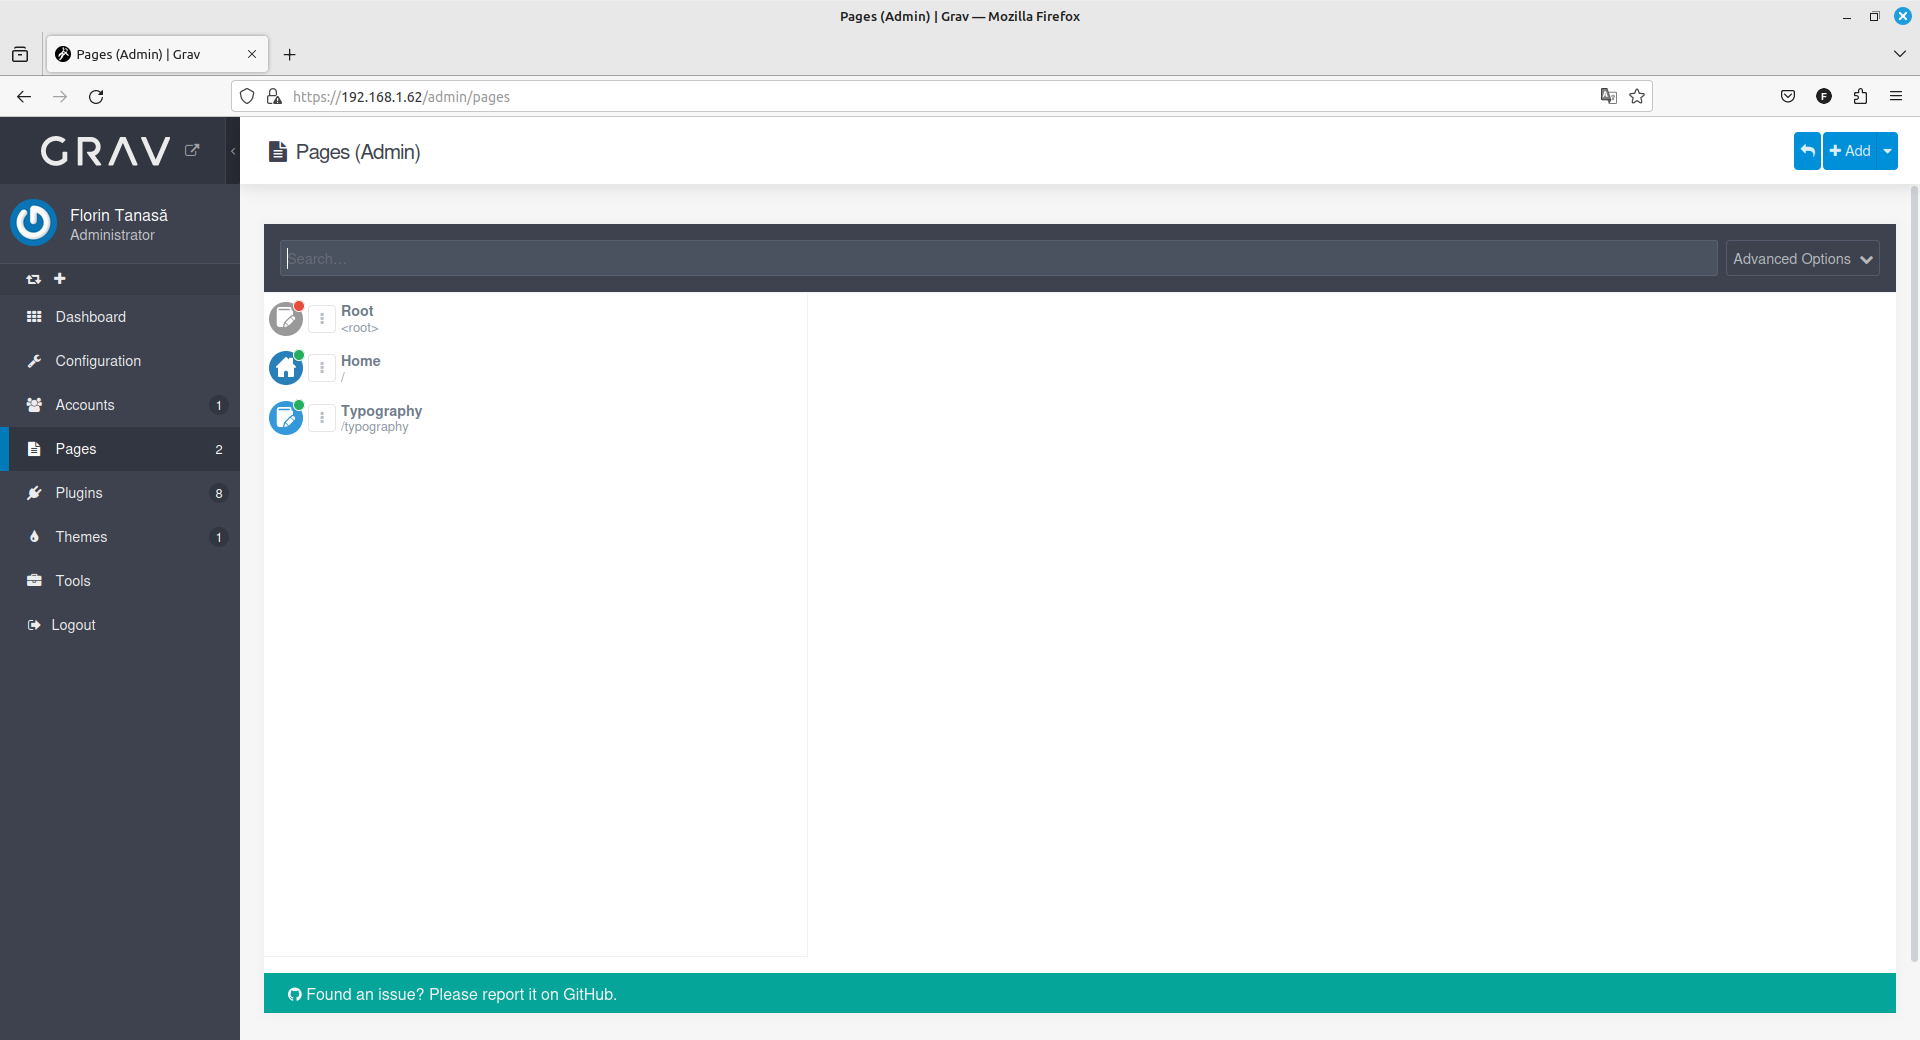
Once logged in with the chosen username and password for site administration, we can make changes to the site by adding new pages and modules. The administration page looks like the image below:

and the page from where we can add new pages will look like the image below:
Attention - In case the site becomes public, it is advisable to work with SSL keys allocated by a recognized entity such as Let's Encrypt. The process of installing the necessary resources is described on the Let's Encrypt page in the Servers area.
Thus, for each page, GRAV creates a directory where its media files (images, pdf files, etc.) and the page edited in Markdown language are kept; for example, a screenshot of the home page. Depending on the hierarchy of directories, the order in menus is also established:
