NextCloud
From the address https://download.nextcloud.com/server/releases we download the latest version of NextCloud, at the time of writing the latest version is 28.0.1:
wget https://download.nextcloud.com/server/releases/latest.zip

Afterwards, we will extract the previously downloaded archive into the directory /var/www/ using the following command, where the -d flag is used to indicate the destination directory:
unzip latest.zip -d /var/www/

After the installation of the PostgreSQL service described in this section, we will create the database nextcloud and a user nextcloud who will be the owner of this database as shown below:
We connect to the database service:
psql -h localhost -U postgres -W

then a prompt will appear asking for the password of the postgres user.
After successfully logging in, we will create the database nextcloud:
create database nextcloud;

We create the user nextcloud and at the same time set its password:
create user nextcloud with password 'nextcloud_pass;

We set the owner of the nextcloud database to be the user nextcloud:
alter database nextcloud owner to nextcloud;

We grant all privileges to the user nextcloud on the nextcloud database:
grant all privileges on database nextcloud to nextcloud;

Then we close the connection to the PostgreSQL server:
\q

We check after the previous commands if the user nextcloud has access to the nextcloud database:
psql -h localhost -d nextcloud -U nextcloud

We install the Apache server and PHP for Apache with PHP-FPM described here as well as some modules and utilities:
apt install imagemagick ffmpeg exiftool php8.2-imagick php8.2-common php8.2-pgsql php8.2-fpm php8.2-gd php8.2-curl php8.2-imagick php8.2-zip php8.2-xml php8.2-mbstring php8.2-bz2 php8.2-intl php8.2-bcmath php8.2-gmp php8.2-imap php8.2-smbclient php8.2-exif

We change the owner and group of the directories and files where we previously extracted nextcloud /var/www/nextcloud, according to the owner and group of the Apache service:
chown -R www-data:www-data /var/www/nextcloud/

For security reasons, we create the directory /var/www/data where Nextcloud will store data:
mkdir /var/www/data

We change the owner of the previously created directory:
chown www-data:www-data /var/www/data

We create the configuration file for the virtual site related to Nextcloud in the directory /etc/apache2/sites-available/:
nano /etc/apache2/sites-available/nextcloud.domeniu.com.conf
<VirtualHost *:80>
  DocumentRoot /var/www/nextcloud/
  ServerName  nextcloud.domeniu.com

  <Directory /var/www/nextcloud/>
    Require all granted
    AllowOverride All
    Options FollowSymLinks MultiViews

    <IfModule mod_dav.c>
      Dav off
    </IfModule>
  </Directory>
</VirtualHost>
Attention - The name in ServerName must exist and be registered with a DNS service, also pay attention to the path related to DocumentRoot.
We activate the previously created site:
a2ensite nextcloud.domeniu.com.conf
For Nextcloud to function correctly, we need the mod_rewrite module enabled:
a2enmod rewrite
In this case, it was enabled previously:

The recommended additional modules are: mod_headers, mod_env, mod_dir, and mod_mime:
a2enmod headers && a2enmod env && a2enmod dir && a2enmod mime
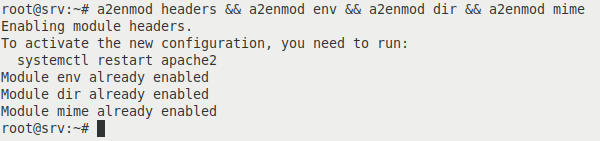
In my case, 3 were enabled previously.
If we run mod_fcgi instead of the standard mod_php, we also activate:
a2enmod setenvif

being previously activated in my case as well.
We restart the Apache service:
systemctl restart apache2

We request the keys for the ssl connection to the virtual site related to nextcloud using the command:
certbot --apache --agree-tos --redirect --hsts --staple-ocsp --email emailul_tau@domeniu_email.com -d nextcloud.domeniu.com
in case we previously requested keys for another virtual site, we will add the --expand flag:
certbot --expand --apache --agree-tos --redirect --hsts --staple-ocsp --email emailul_tau@domeniu_email.com -d domeniu.com,nextcloud.domeniu.com
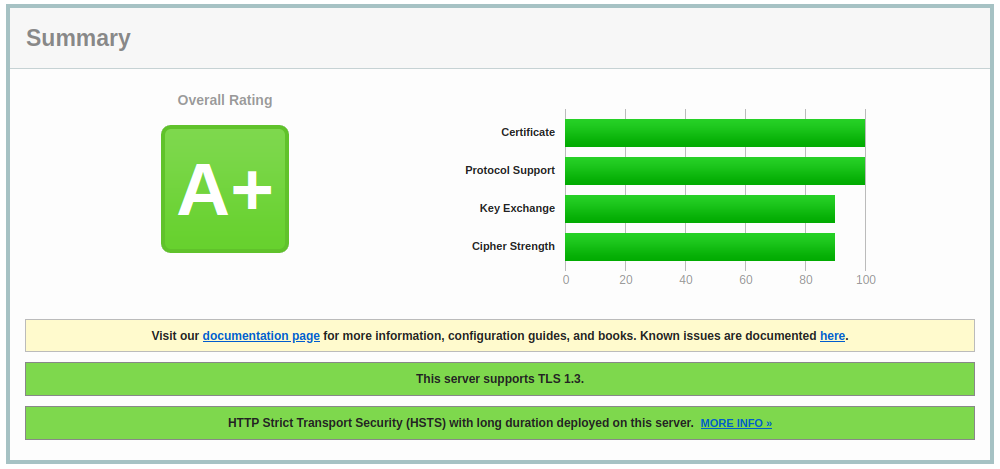
To verify if we did a good job, we will test our site at https://www.ssllabs.com/ssltest/index.html to see if it's okay; I received a good score:
After accessing the web page of the site https://nextcloud.domeniu.com, we will be greeted, for the first time, by the page where we will need to respond by entering the requested data:
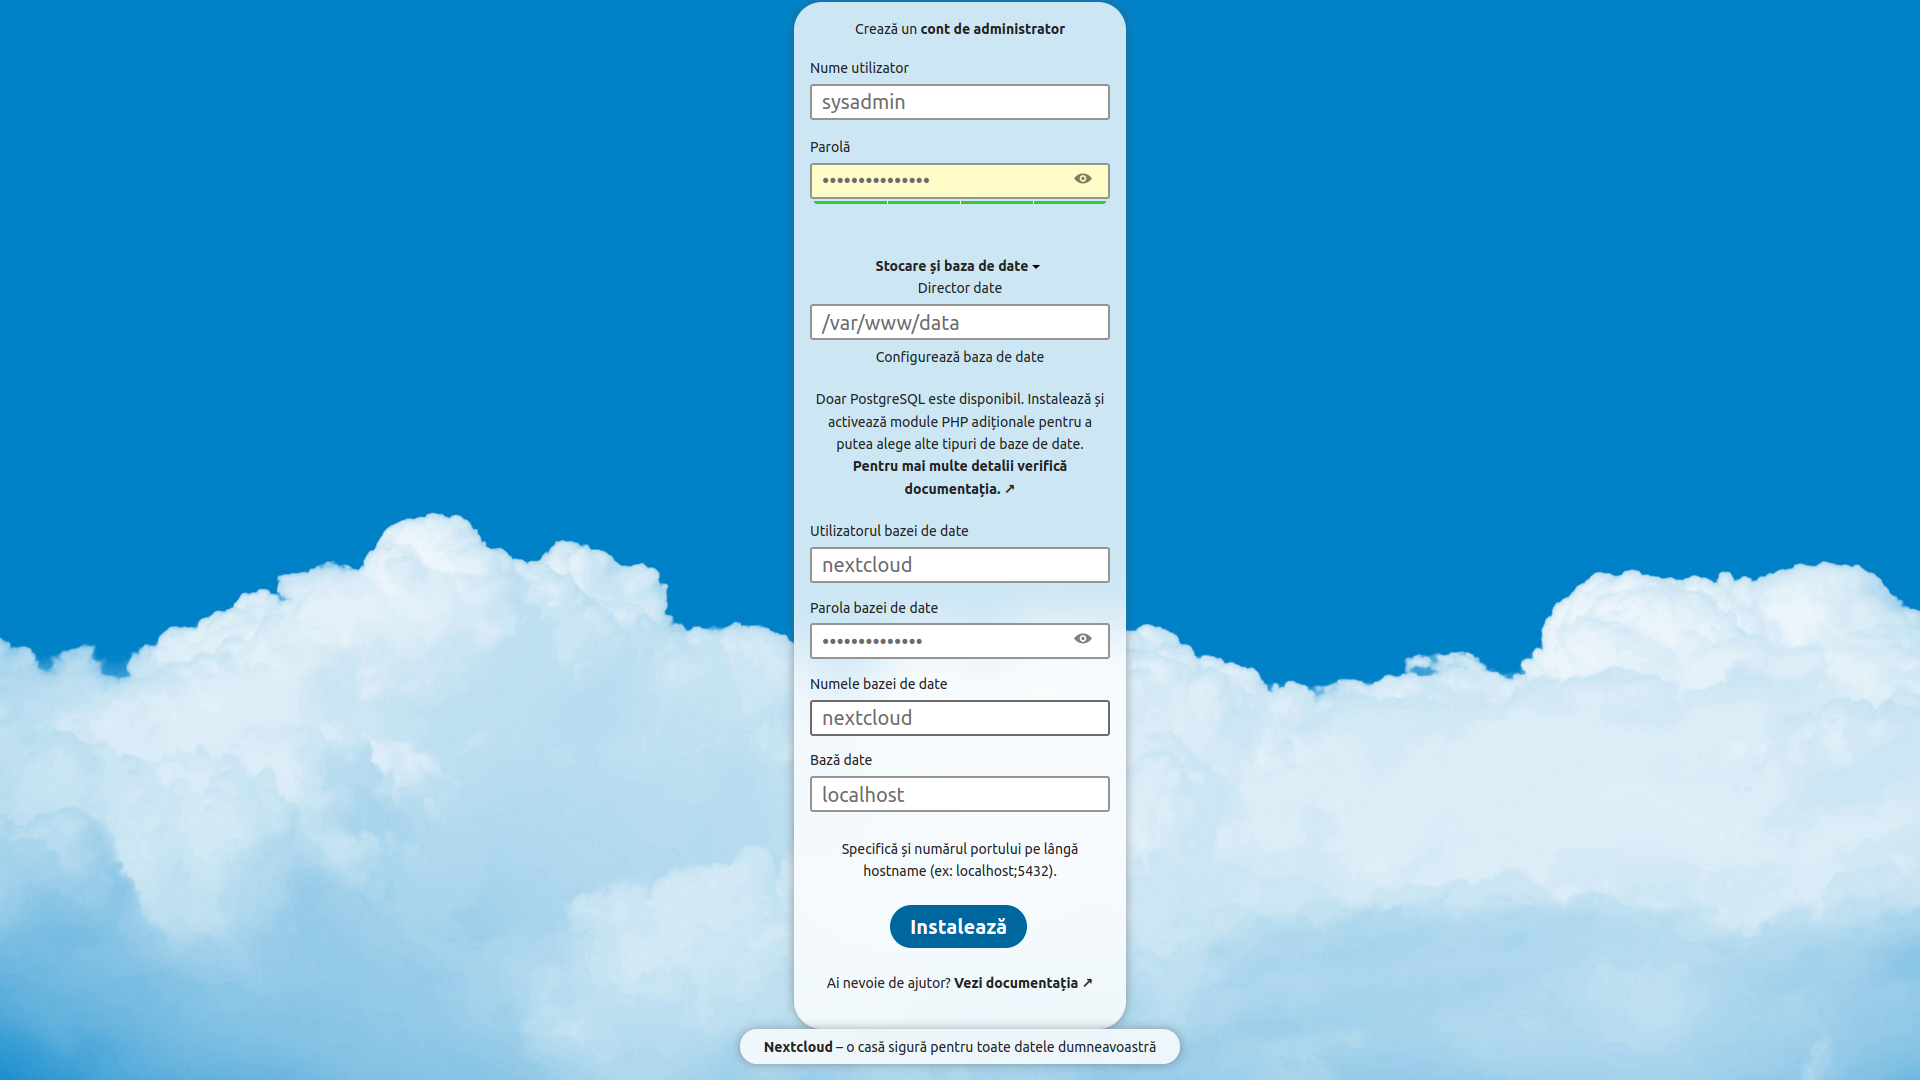
After that, we press the Install button, and if everything has been entered correctly, we will be greeted by a new window:

After pressing the Install recommended applications button and installing the recommended applications, the next screen will look like this:

After reading and closing the welcome window, the dashboard of the Nextcloud installed on our server will look like this:

Thus, at this moment we have a Nextcloud with minimal services and functionality.
We check the Administration -> Overview page for any issues or things that need to be optimized:
But it is best to make backups of the original files before making any changes:
One of the things is that we need to increase the memory to at least 512M:
nano /etc/php/8.2/fpm/php.ini
we are looking for the line:
memory_limit = 128Mand we change the value to at least 512M:
memory_limit = 512MInstalling Collabora (LibreOffice used in Nextcloud)
Collabora has an official package repository for Ubuntu 22.04. We run the following command to add it to the system.
echo 'deb https://www.collaboraoffice.com/repos/CollaboraOnline/CODE-ubuntu2204 ./' | tee /etc/apt/sources.list.d/collabora.list

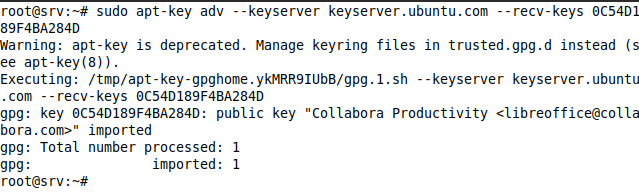
Then we run the following command to download and import the public key for Collabora, which will allow the APT package manager to verify the integrity of the packages downloaded from this repository.
apt-key adv --keyserver keyserver.ubuntu.com --recv-keys 0C54D189F4BA284D
We copy the trusted.gpg key from the /etc/apt/ directory to the /etc/apt/trusted.gpg.d/ directory:
cp /etc/apt/trusted.gpg /etc/apt/trusted.gpg.d

or even better, we export the key to the respective directory:
apt-key export F4BA284D | sudo gpg --dearmour -o /etc/apt/trusted.gpg.d/collabora.gpg

after which we delete the previously created trusted.gpg file:
rm -f /etc/apt/tusted.gpg

and we check that everything is in order with our keys:
apt-key list
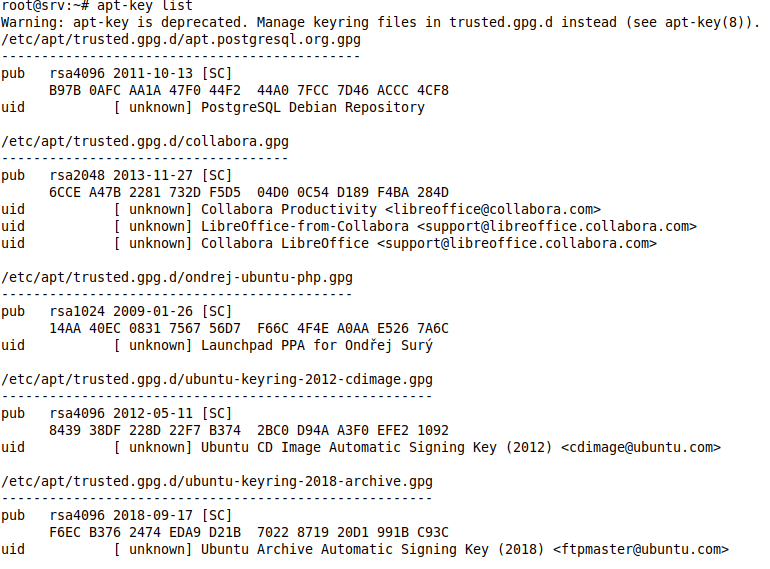
Attention - We check beforehand that there are not multiple keys in trusted.gpg (there shouldn't be) besides those from Collabora with apt-key list, if there are, they must also be exported.
We update the system:
apt update && apt upgrade

Now we install Collabora, two packages will be required:
apt install coolwsd code-brand

After installation, we check the status of the coolwsd service:
systemctl status coolwsd

As can be seen, there are problems with starting the service, and we check its log:
journalctl -eu coolwsd
we will analyze the log and find that a key file is not found:

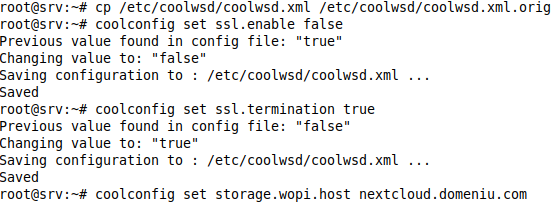
We will need to edit the file /etc/coolwsd/coolwsd.xml, but since it is quite complicated, we will use the configuration command for it coolconfig, but before editing, saving the original for any eventuality doesn't hurt:
cp /etc/coolwsd/coolwsd.xml /etc/coolwsd/coolwsd.xml.orig
we disable TLS:
coolconfig set ssl.enable false
we enable TLS termination:
coolconfig set ssl.termination true
By default, coolwsd only allows known hosts to access its service. To allow our Nextcloud service to access the service, we run the following command to add the hostname of our virtual host (set up in the installation step of Nextcloud) to the safe list with the Nextcloud service:
coolconfig set storage.wopi.host nextcloud.domeniu.com